This guide covers how to use the Prompt Builder for Photo Magic. Click here to open this guide in a new browser tab, or you can click here to watch the video guide.
Topics Covered:
- Locating the Prompt Builder
- Using the Quick Buttons
- Generating test renders and Saving the Prompt
- Applying the Prompt to Capture Submissions
i. Locating the Prompt Builder
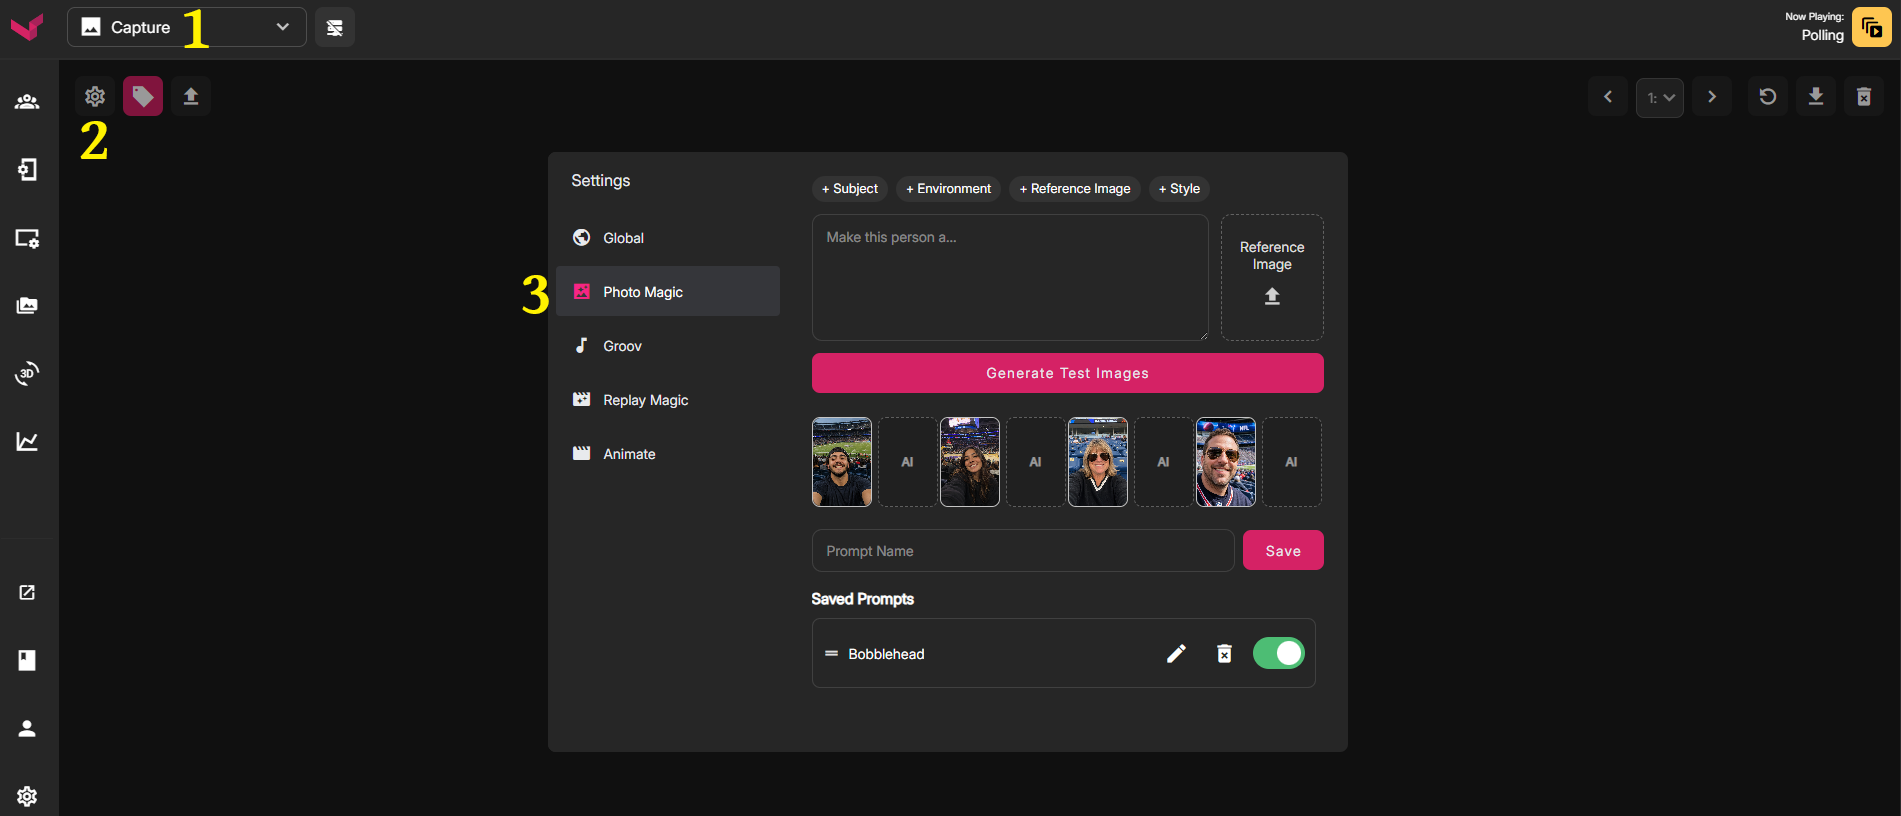
- Select Capture in the header dropdown
- Click the Gear icon in the upper left
- Select Photo Magic
ii. Using the Quick Buttons
On the Prompt Builder menu, you'll see a large text box. This is where you can type and create your prompt. Above the text box are the Quick Buttons that you can use for inspiration. Note that these buttons are optional, and you can always choose to type your prompt without using the Quick Buttons.
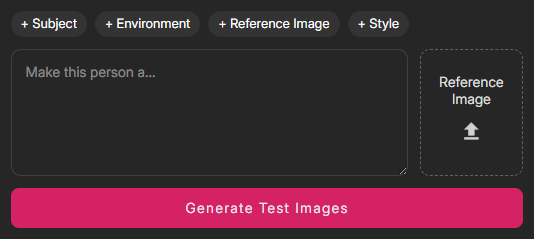
1) To use the buttons, start with the Subject button on the left. Click it once to see several ideas on what your subject will be. You can use the refresh button to cycle through even more choices. Once you find a subject that interests you, click it. This will add that text to the Prompt field. Once you've added the Quick Button text to the prompt, you should expand upon that choice and add even more details.
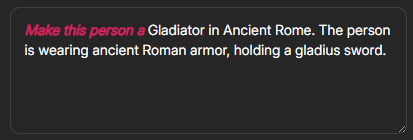
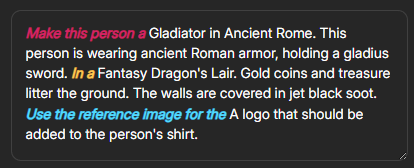
For example, if you click Subject and then choose "Gladiator in ancient Rome", the system will add "Make this person a gladiator in ancient Rome." You could expand on that by adding, "The person is wearing ancient Roman armor, holding a gladius sword."
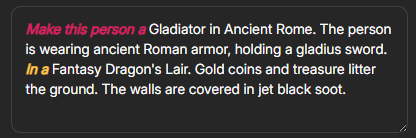
2) Then click the next Quick Button, Environment. When presented with options, select one that feels appropriate such as "Fantasy Dragon's Lair". And again, you can expand upon that by adding additional descriptions such as, "Gold coins and treasure litter the ground. The walls are covered in jet black soot."
3) The third Quick Button allows you to use an uploaded Reference Image in your render. For example, you can upload your team logo to the Reference Image location, and then choose, "Use the reference image for the A logo that should be added to the person's shirt."
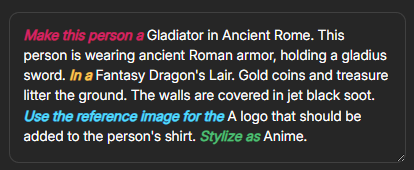
4) Last, click the Quick Button for Style and choose a Style to use. You can also type in a style that's not listed. Selecting "Anime" as the style results in the following:
iii. Generating Test Renders
Once you've built a full prompt, click Generate Test Images to see how your prompt will look when applied to fan selfies. There are default selfies available, but you have the option to upload your own test selfies.
Once the test renders are complete, click to zoom in and view them. From here, you have 3 options:
1) Re-Generate Test Images. If you want to see a wider sample size, generate additional photos and continue to view different results of your prompt
2) Edit your prompt, and Generate Test Images with your updated prompt
3) Save the prompt by typing a name and clicking Save
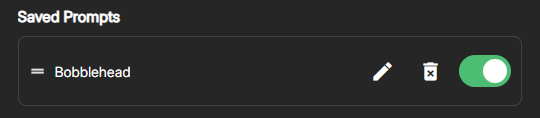
Any prompts you save will appear on the list below. You can use the toggle switch on the right side of each prompt to disable any prompt. A disabled prompt will be hidden on the Photo Magic moderation menu.
iv. Applying the Prompt to Capture Submissions
To use any Photo Magic prompt that you've created, follow these steps:
- Select Capture in the Header Dropdown
- On the Capture page, mouse hover over any photo submission
- Click the Magic Wand button in the upper left
- Photo Magic will be selected by default, so simply select your Prompt in the dropdown and click Process
- In usually 30-60 seconds, your results will be available to view and add to the playlist
Was this article helpful?
That’s Great!
Thank you for your feedback
Sorry! We couldn't be helpful
Thank you for your feedback
Feedback sent
We appreciate your effort and will try to fix the article